Sunton Screens~
Warning
BETA - Under development still - Some features may not work, or have bugs
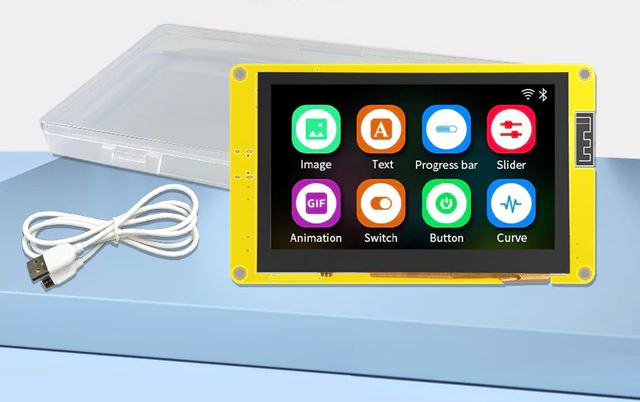
These are great "all-in-one" device that have integrated ESP32/ESP32-S3 chips, many with PSRAM. Sizes from 1.9" to a whopping 7" display and built in touch.
Available via the Sunton store on Aliexpress.
Versions~
There are many versions:
- ESP32-1732S019 (ESP32-S3) - currently not supported
- ESP32-2432S028 (ESP32)
- ESP32-3248S035(r/c)* (ESP32)
- ESP32-4827S043(r/c)* (ESP32-S3)
- ESP32-8048S050 (ESP32-S3)
- ESP32-8048S070 (ESP32-S3)
*Note: versions can have Resistive (r) or Capacitive (c) touch screens, you need to ensure you load the correct firmware for the device you have.
ESP32-S3 Modules have PSRAM and are more suitable for loading fonts, and graphics.
Features~
The Sunton screens are fully featured and ready to use screens with ESP32(S3) integrated, touch control integrated (Resistive or Capacitive), with resultions as high has 800x480! (in the 4.3"+ screens). The back has many GPIO pins avialable through an included connector, TF Slot, Audio out (some versions), note: audio/tf not supported in openHASP yet.
Cases~
If you have a 3D printer, cases are becoming available:
ESP32-3248S035~
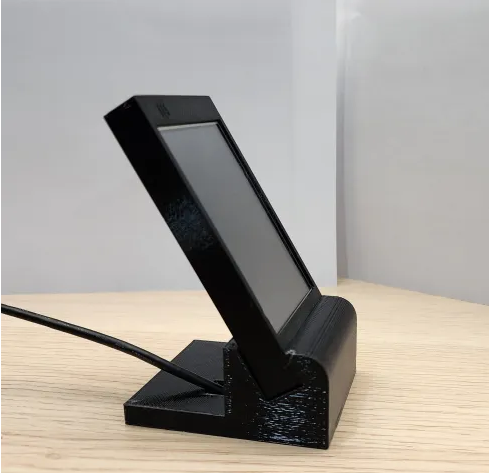
Sunton ESP32 3.5inch Display Case Stand from Printables.com
ESP32-4827S043~
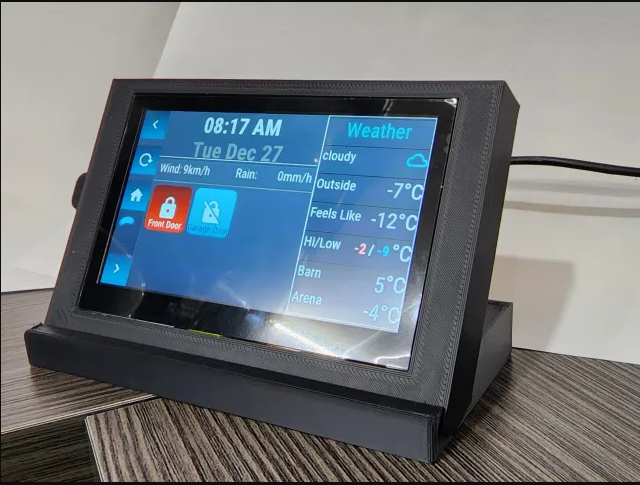
Sunton ESP32S3 8048s043c 4.3" Screen Case from Printables.com
Other cases maybe available, search printables, thingaverse, etc
Flashing~
Compile your own via platform.io and platformio_override.ini environment templates.
Also available via web installer at https://nightly.openhasp.com/
or the latest found under Github Actions, click on the latest action, and look under the Assets sections for zip files containing builds binary files.
Recommended method (as of Dec 2022)~
-
Use the
Nightlybuild website to initially flash the device. -
Then update with the OTA file found under
Actions,Assetson github. Or compile your own if comfortable doing that.
Initial Setup Notes~
Note that some of the screens have TWO versions, Resistive and Capacitive, so flash the correct firmware (ends in r or a c respectively).
RESISTIVE: After first boot, Run a Calibration via the web ui -> Display Setup -> Calibrate
Then on the screen, touch the indicated points.
Warning
Screens may not yet support rotation (for example 4.3" currently does not - Dec 31, 2022)